
25) CV Building InDesign Workshop, Bismark - 14/11/17
- Nov 14, 2017
- 3 min read
Today we had our InDesign workshop to help us create a photographic CV. My notes from the session can be seen scanned in below and I also have screenshots to explain each step. We firstly talked about how we want our CVs to look clean and straightforward, and looked at some examples of layout ideas.
(insert notes here)

Firstly we created an A4 print document, and created some columns in the set up menu. We then also added two boxes to each column, which you can see in the above image. These are for inserting text or images into. For my layout I want to have my contact details in the right hand column and then a logo on the left.

Next we went onto choose our font style and size for our contact details section, creating a new paragraph style called 'contact details' to do this. We can also play around with the alignment in this window (which you can see in the below image).

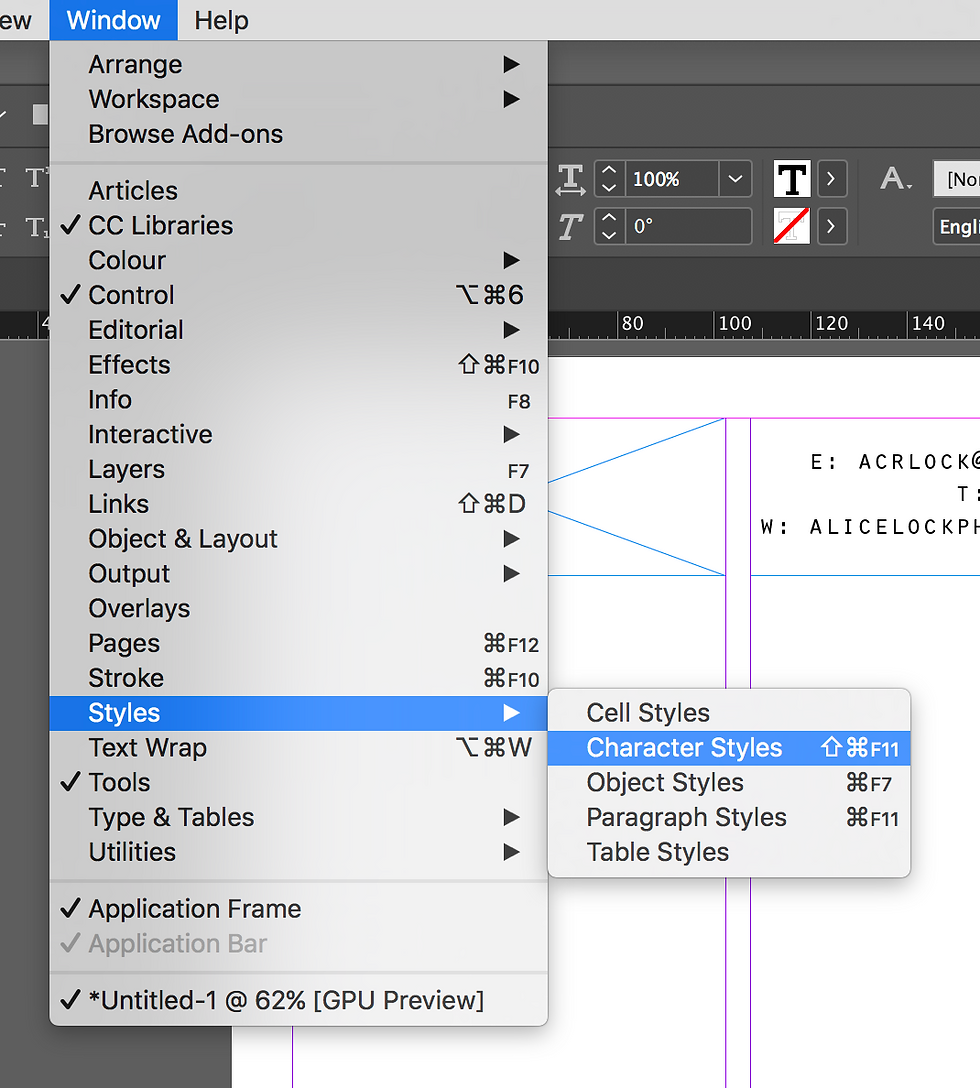
To always have your character styles window and paragraph styles window open you go on windows - styles - character styles, as you can see in the above screenshot.

The above screenshot shows my chosen font type and contact details in the right hand box.

To see a preview of your document how it would be printed, you click on the square symbol and press 'preview'. Below is a screenshot of how my document looks so far.


We also learnt how to set your spacing between each paragraph and heading, going into the indent section of the paragraph style menu, and put the counter up as much as you like. I chose 2.

The above screenshot shows you how to insert a heading with a text box, and make it into its own character style to play around with the font, size and placement.

This screenshot shows you how to turn off hyphenation, meaning your words won't get split up on the document.

The next 2 screenshots show how to change the colour of your text, so firstly you need to create a new character style, and I labelled mine 'contact label'. You then click on 'character colour' on your left hand menu, highlight the text you want to change the colour of, and then choose a colour from the dropdown menu.


You can also create your own colour for your text, from pressing 'new swatch', right clicking on new swatch and play around with the sliders until you get the colour you desire. It will first be added as a copy. You then add it to your list and it will be saved there to use.


Below shows my finished CV at the end of the workshop, as you can see one column really condenses my information and almost looks a bit sparse, so I want to play around with layouts and also add any extra information I need on there. I'm really liking the style of having a pop of colour on the headings etc to make them stand out, but still keeping it simple with the black too.

Overall I found the workshop really helpful just as an InDesign refresher, which I thought was needed because I'm thinking of making a zine to present my work. It was also great to learn how to specifically make a CV and learn which tools were most useful. I've pretty much now made the basics of my CV (pictured above) and now all I need to do is add any extra details I've missed out.

Comments